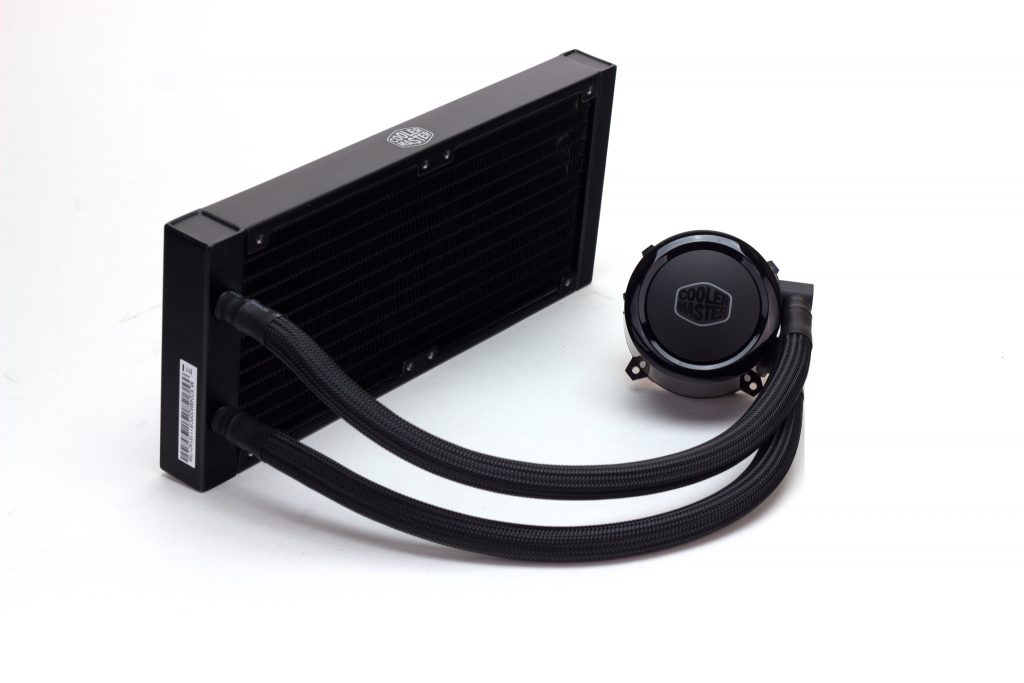
RGB is something that some people just can't live without, and if that sounds like you then the CoolerMaster ML240R RGB AIO might be the CPU cooler for you. This cooler doesn't have your standard one colour at a time RGB either, it's Addressable RGB which basically means you can control every LED diode individually which enables some very cool lighting effects.
Something cool about CoolerMaster AIOs is the fact that they don't get a third party OEM manufacturer like Aestek or CoolIT to make their AIOs, instead they do both the design and manufacturing in house which is probably why CoolerMaster can be so competitive with pricing in the AIO market.
The radiator in this cooler is made out of Aluminum, and the CPU Block is made out of Copper which means you are mixing metals, but the coolant is designed to stop any sort of galvanic corrosion so there is no need to worry about that. (This is the same setup most AIOs use).
The RGB can be controlled by many different means, which gives it a wide range of compatibility options so even if your motherboard doesn't have a 3 pin Addressable RGB header you will still be able to get the most out of the RGB LEDs.
- Radiator Size – 240mm
- Radiator Thickness - 27mm
- TDP –230W
- Weight – Not listed by CoolerMaster
- Socket Compatibility - Intel® LGA 2066 / 2011-v3 / 2011 / 1366 / 1151 / 1150 / 1156 / 1155 / 775 socket, AMD® AM4 / AM3+ / AM3 / AM2+ / AM2 / FM2+ / FM2 / FM1 socket
- Included Fan(s) – 2 x MF120R ARGB fans
What’s in the box?
- CoolerMaster ML240R RGB CPU Cooler
- 2 x MF120R ARGB fans
- Mounting installation instructions
- Warranty information leaflet
- Mounting hardware for all above sockets
- Generic CoolerMaster thermal paste
- RGB Controller
- 2 Way Fan Splitter
- All the RGB cables you could ever think of
Mounting
The mounting of the CPU block, fans and radiator is pretty easy. You start by assembling the backplate with four bolts and four plastic caps to hold the bolts in place, this whole assembly them goes through the motherboard which the cooler can be screwed down onto using the included bolts.
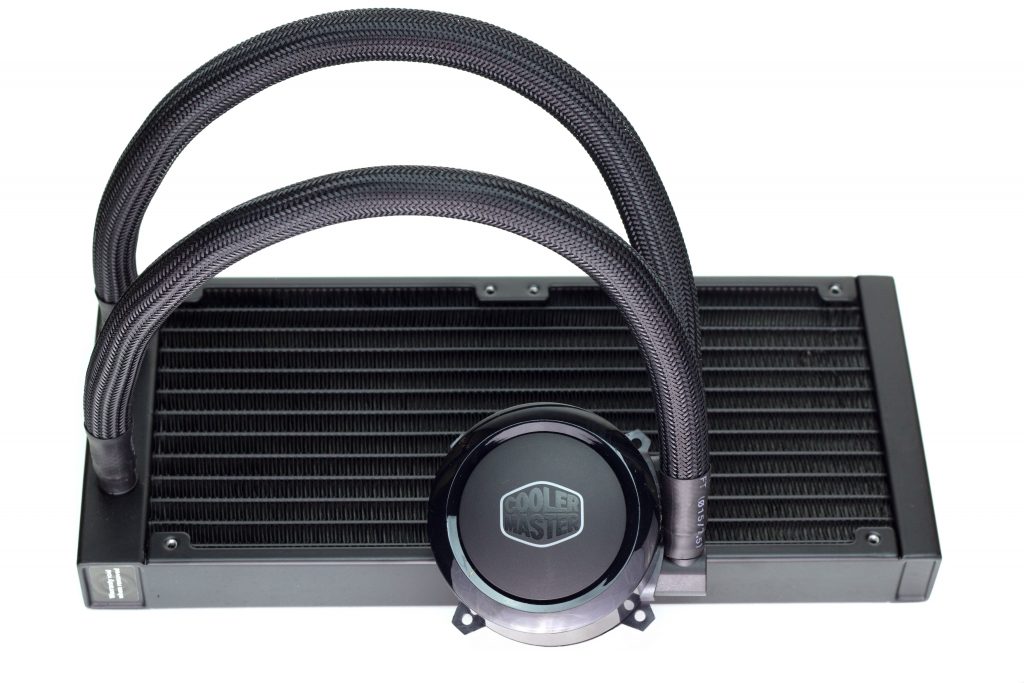
The radiator placement is also very easy compared to other AIOs, this is because the pump is located in the CPU block itself and not on the side of the radiator, making the radiator considerably smaller therefore easier to fit! The bolts that come with the cooler are fantastic, they are a standard M4 bolt but one end has a thumb screw part that also has an M4 threaded hole, allowing you to screw something else into it, making almost any fan configuration imaginable possible.
The main problem we have with the mounting isn't really anything to do with the mounting, but with the way you connect everything up. The amount of cables that come with the cooler is absurd, let me list them off for you: 1 x Fan Splitter, 1 x 4-Way ARGB Splitter, 1 x Micro USB cable, 1 x RGB Extension, 1 x ARGB Extension, 1 x Reset Switch RGB Cable, 1 x Passthrough RGB Switch Cable, 1 x USB 2.0 Header to USB 2.0 Port Adapter, 1 x Fan Extension Cable. Obviously you don't have to use all of it but it can be a bit of a nightmare working out exactly what you need to do.
Aesthetic
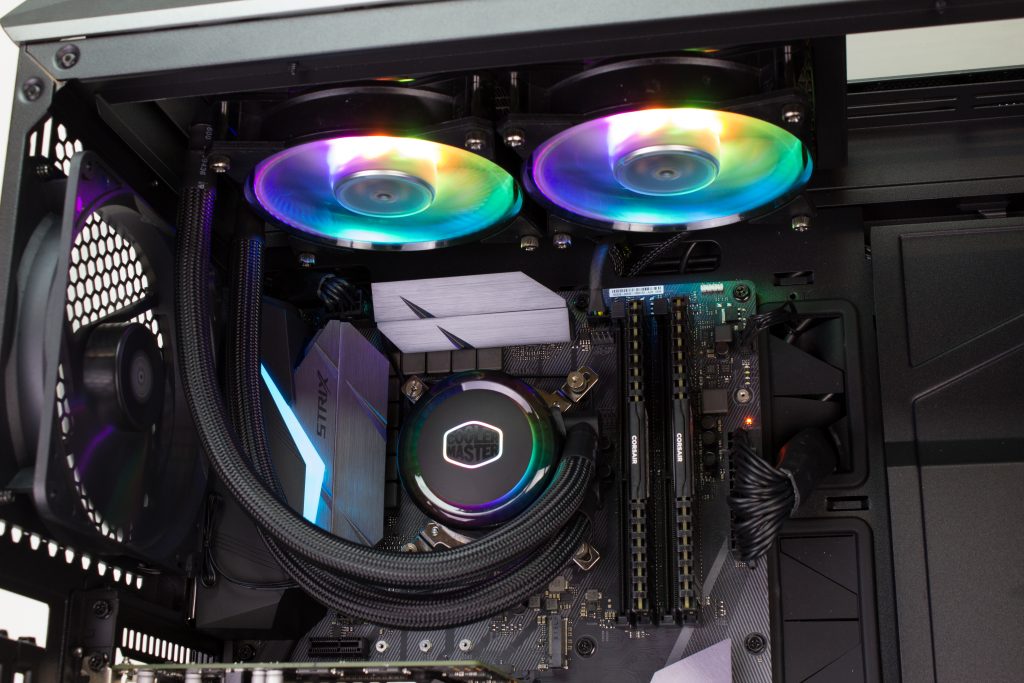
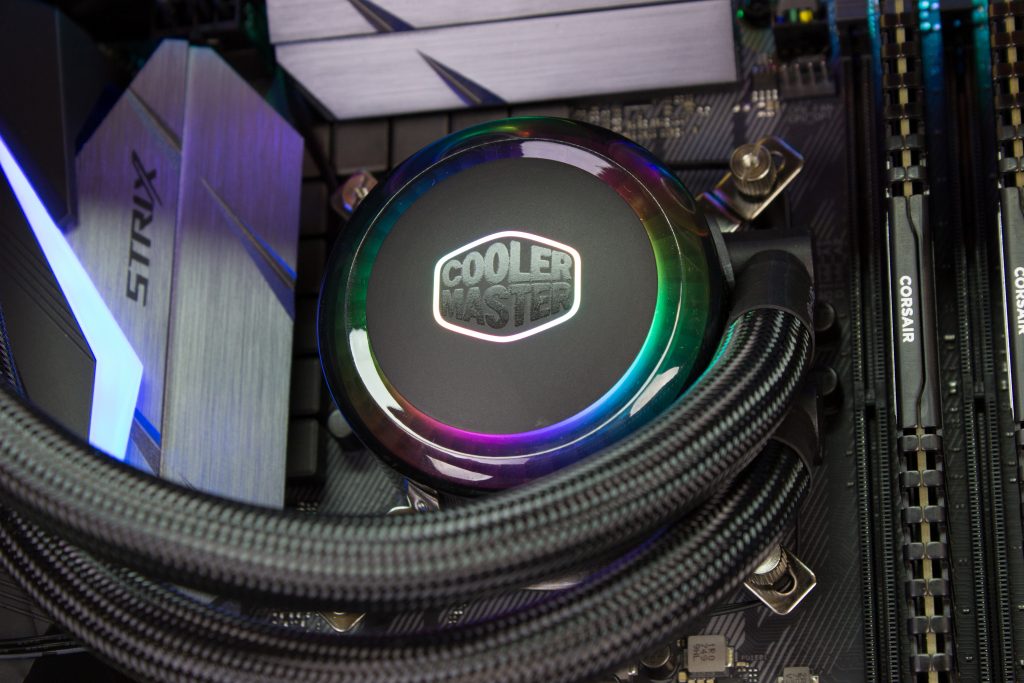
The aesthetics of the CoolerMaster ML240R RGB is really where it shines, there is an area or two it can improve on but it does a fantastic job of looking great. Let's start by talking about the addressable RGB. There are LEDs on the CPU Block and both fans, by using the splitter you can get all three zones synced up so the rotation of the LED effect is identical. The CPU block features the RGB illuminated CoolerMaster LOGO and a ring around the edge of the block. The fans have clear blades which are lit by LEDs in the center fan hub.
We also like the braided tubing that the cooler has, this gives is a premium feel over a standard rubbed or plastic tubing.
One of the things we feel could use improvement is the fittings used to connect the tubing to the CPU block and radiator, these fittings are made of plastic and have a very cheap look and feel, we would much prefer to see these made of metal. Also, I feel that the fans and plastic on the CPU block do look and feel a bit cheap.
Performance
With all this fancy RGB you'd hope that the ML240R would perform great too, well we did the testing so you're about to find out!
Test System Specs
- Processor - Intel i7 8700k
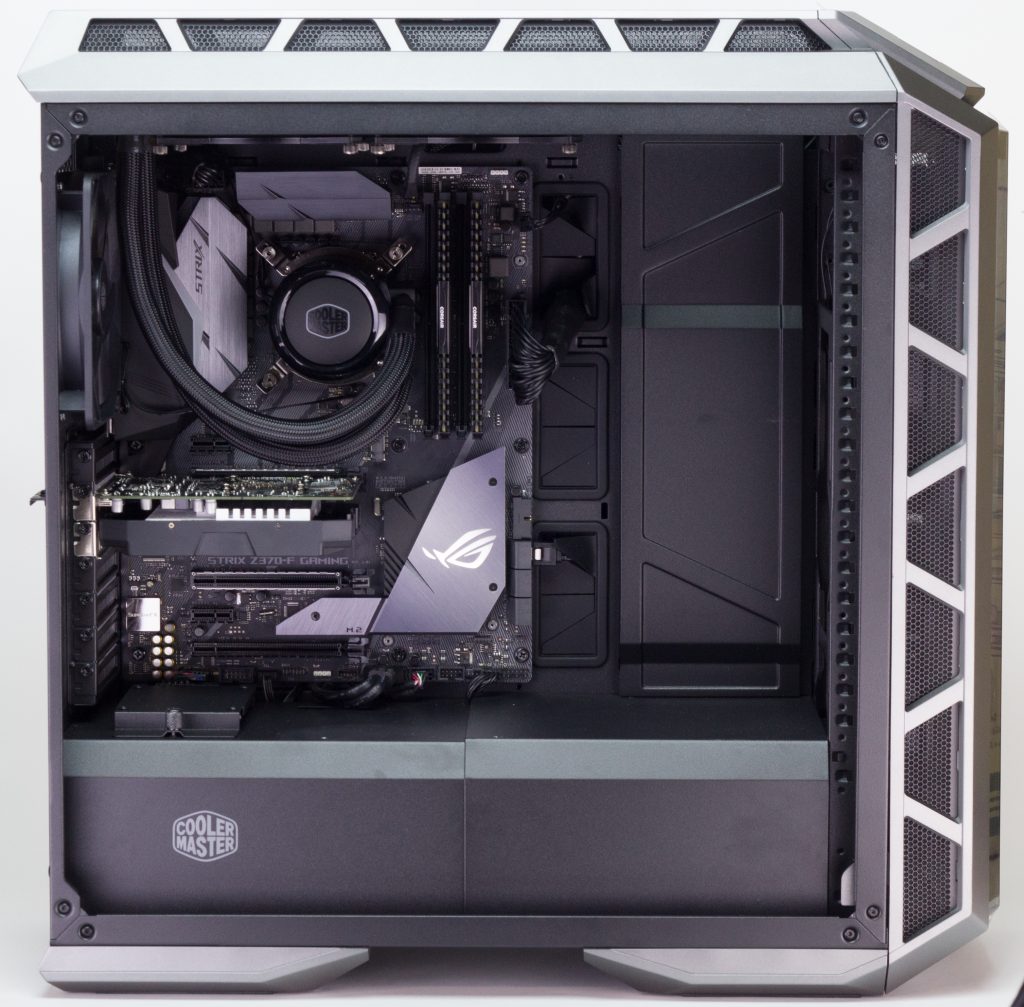
- Case - CoolerMaster H500P
- RAM - Corsair Vengeance DDR4 16GB 3000Mhz (2x8)
- Motherboard - Asus Rog Strix Z370-F
- SSD - Samsung 860 EVO 250GB
- PSU - Corsair RM750x
- GPU - EVGA GTX 1050Ti
We performed different tests using different pieces of software for a broad range of results. The software used for stress testing was 3DMark Time Spy CPU Test, Prime95 with the Blend preset and AIDA64 CPU+FPU which really tests the CPU Cooler to it's limits. Temperatures were logged using AIDA64's temperature logging function.
Both of the tests were ran and both stock voltages and clock speeds, and overclocked at 5.0GHz with 1.35V, in the results anything marked "OC" uses these settings.
All of these tests were performed in out climate controlled test room at a constant 21°C. All fan speeds were set to normal in the BIOS, which worked fine and none of the coolers we tested had excessive noise levels.
The graph below shows they average temperature over a 20 minute stress test using Prime95's blend preset. This test was by far the best at showing the performance of these air coolers visually due to the range being much higher than other tests.
Yes, yes it does perform well! Taking a look at the graph you can see it sits nicely between the smaller ML120R and the Corsair H100X which is also a 240mm AIO, this is about where we expected it to be in terms of performance. In other reviews the noise the fans put out has been labelled as "excessive" and "off putting" but we didn't experience any issues with noise, unfortunately we are unable to reliably measure acoustics due to the varying noise floor of our test environment, but the noise levels were perfectly acceptable for an overclocked system under 100% load.
Conclusion
Where this cooler really shines is the RGB compatibility, all of those cables it comes with means that it works with basically any PC. You can connect the fans and CPU block directly to any standard ARGB header if you want to bypass the included controller. The included controller also has a few ways to control the LEDs, the first being simple buttons on the controller, the 2nd being via the CoolerMaster RGB software (requires controller to be connected to a USB 2.0 Header), and the 3rd being able to connect it to the reset switch on your case so you can use that to cycle through the RGB modes. But how will you then use the reset switch? Well, it also comes with a passthrough which then allows the controller to be connected to the reset switch header, so a regular press of the reset switch will cycle through the colours, but if you hold it down for 5 seconds it will function as a reset switch.
So yes, if you want an AIO that has good performance, great addressable RGB integration and incredible RGB compatibility then this is definitely the one you are going to want.
Pros
- Incredible RGB Compatibility
- Good performance
Cons
- Some parts feel cheap
 RGB is something that some people just can't live without, and if that sounds like you then the CoolerMaster ML240R RGB AIO might be the CPU cooler for you. This cooler doesn't have your standard one colour at a time RGB either, it's Addressable RGB which basically means you can control every LED diode individually which enables some very cool lighting effects.
Something cool about CoolerMaster AIOs is the fact that they don't get a third party OEM manufacturer like Aestek or CoolIT to make their AIOs, instead they do both the design and manufacturing in house which is probably why CoolerMaster can be so competitive with pricing in the AIO market.
The radiator in this cooler is made out of Aluminum, and the CPU Block is made out of Copper which means you are mixing metals, but the coolant is designed to stop any sort of galvanic corrosion so there is no need to worry about that. (This is the same setup most AIOs use).
The RGB can be controlled by many different means, which gives it a wide range of compatibility options so even if your motherboard doesn't have a 3 pin Addressable RGB header you will still be able to get the most out of the RGB LEDs.
- Radiator Size – 240mm
- Radiator Thickness - 27mm
- TDP –230W
- Weight – Not listed by CoolerMaster
- Socket Compatibility - Intel® LGA 2066 / 2011-v3 / 2011 / 1366 / 1151 / 1150 / 1156 / 1155 / 775 socket, AMD® AM4 / AM3+ / AM3 / AM2+ / AM2 / FM2+ / FM2 / FM1 socket
- Included Fan(s) – 2 x MF120R ARGB fans


